Upload picture in Outlook 2010 using the Exchange Management Shell (Exchange 2010)
This guide will help you to understand how to import bulk pictures to Microsoft Outlook (2010 and 2007) using Exchange shell. You have to follow below simple steps to get it done.
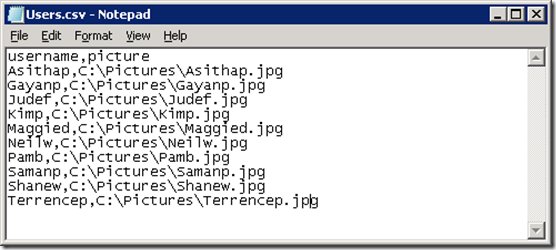
1. Create a .CSV file with user logon names and picture paths you want to add.
2. Run the below shell command,
Import-csv C:\Users.csv | % { Import-RecipientDataProperty –Identity $_.username –Picture –FileData ([Byte[]]$(Get-Content –Path $_.picture –Encoding Byte –ReadCount 0)) }
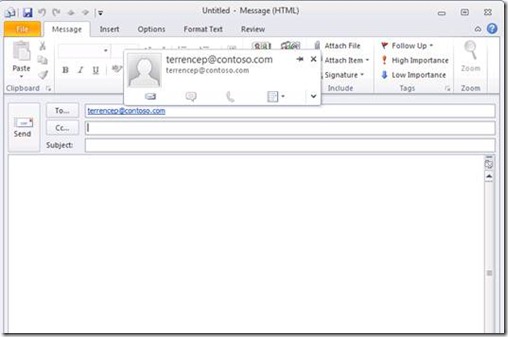
Before add the outlook profile pictures.
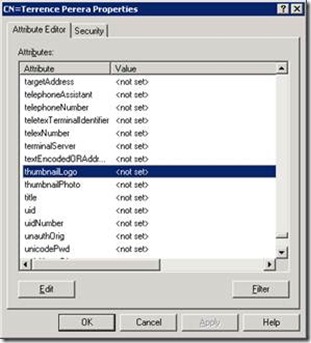
As you can see below thumbnailPhoto attribute is null
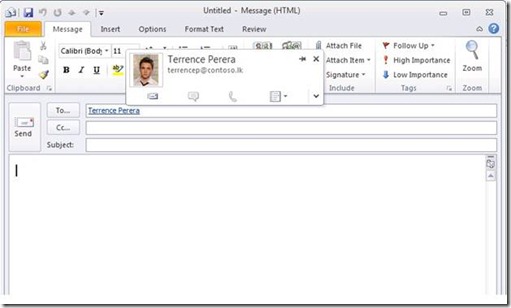
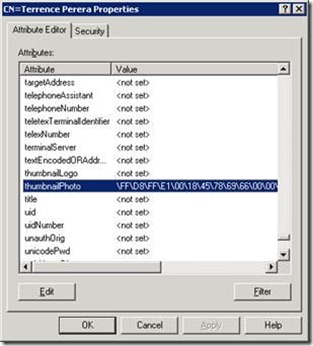
After add the outlook profile pictures.
As you can see below thumbnailPhoto attribute filled an image path
You can watch the below video, it covers whole area what I discussed in the above article…..

Please leave a comment if this article help you guys…. 🙂
Hello Dilshan I like to know how do you open the attribute editor. I can’t seems to locate it.
You can type adsiedit.msc on run or else you can follow this path Start –> Administrative Tools –> ADSIedit
Ok thanks for your reply, it seems like just running the script took care of everything
Yes it is a simple script…..
I’m really impressed with your writing skills as well as with the layout on your weblog.
Is this a paid theme or did you customize it
yourself? Anyway keep up the excellent quality
writing, it’s rare to see a nice blog like this
one nowadays.